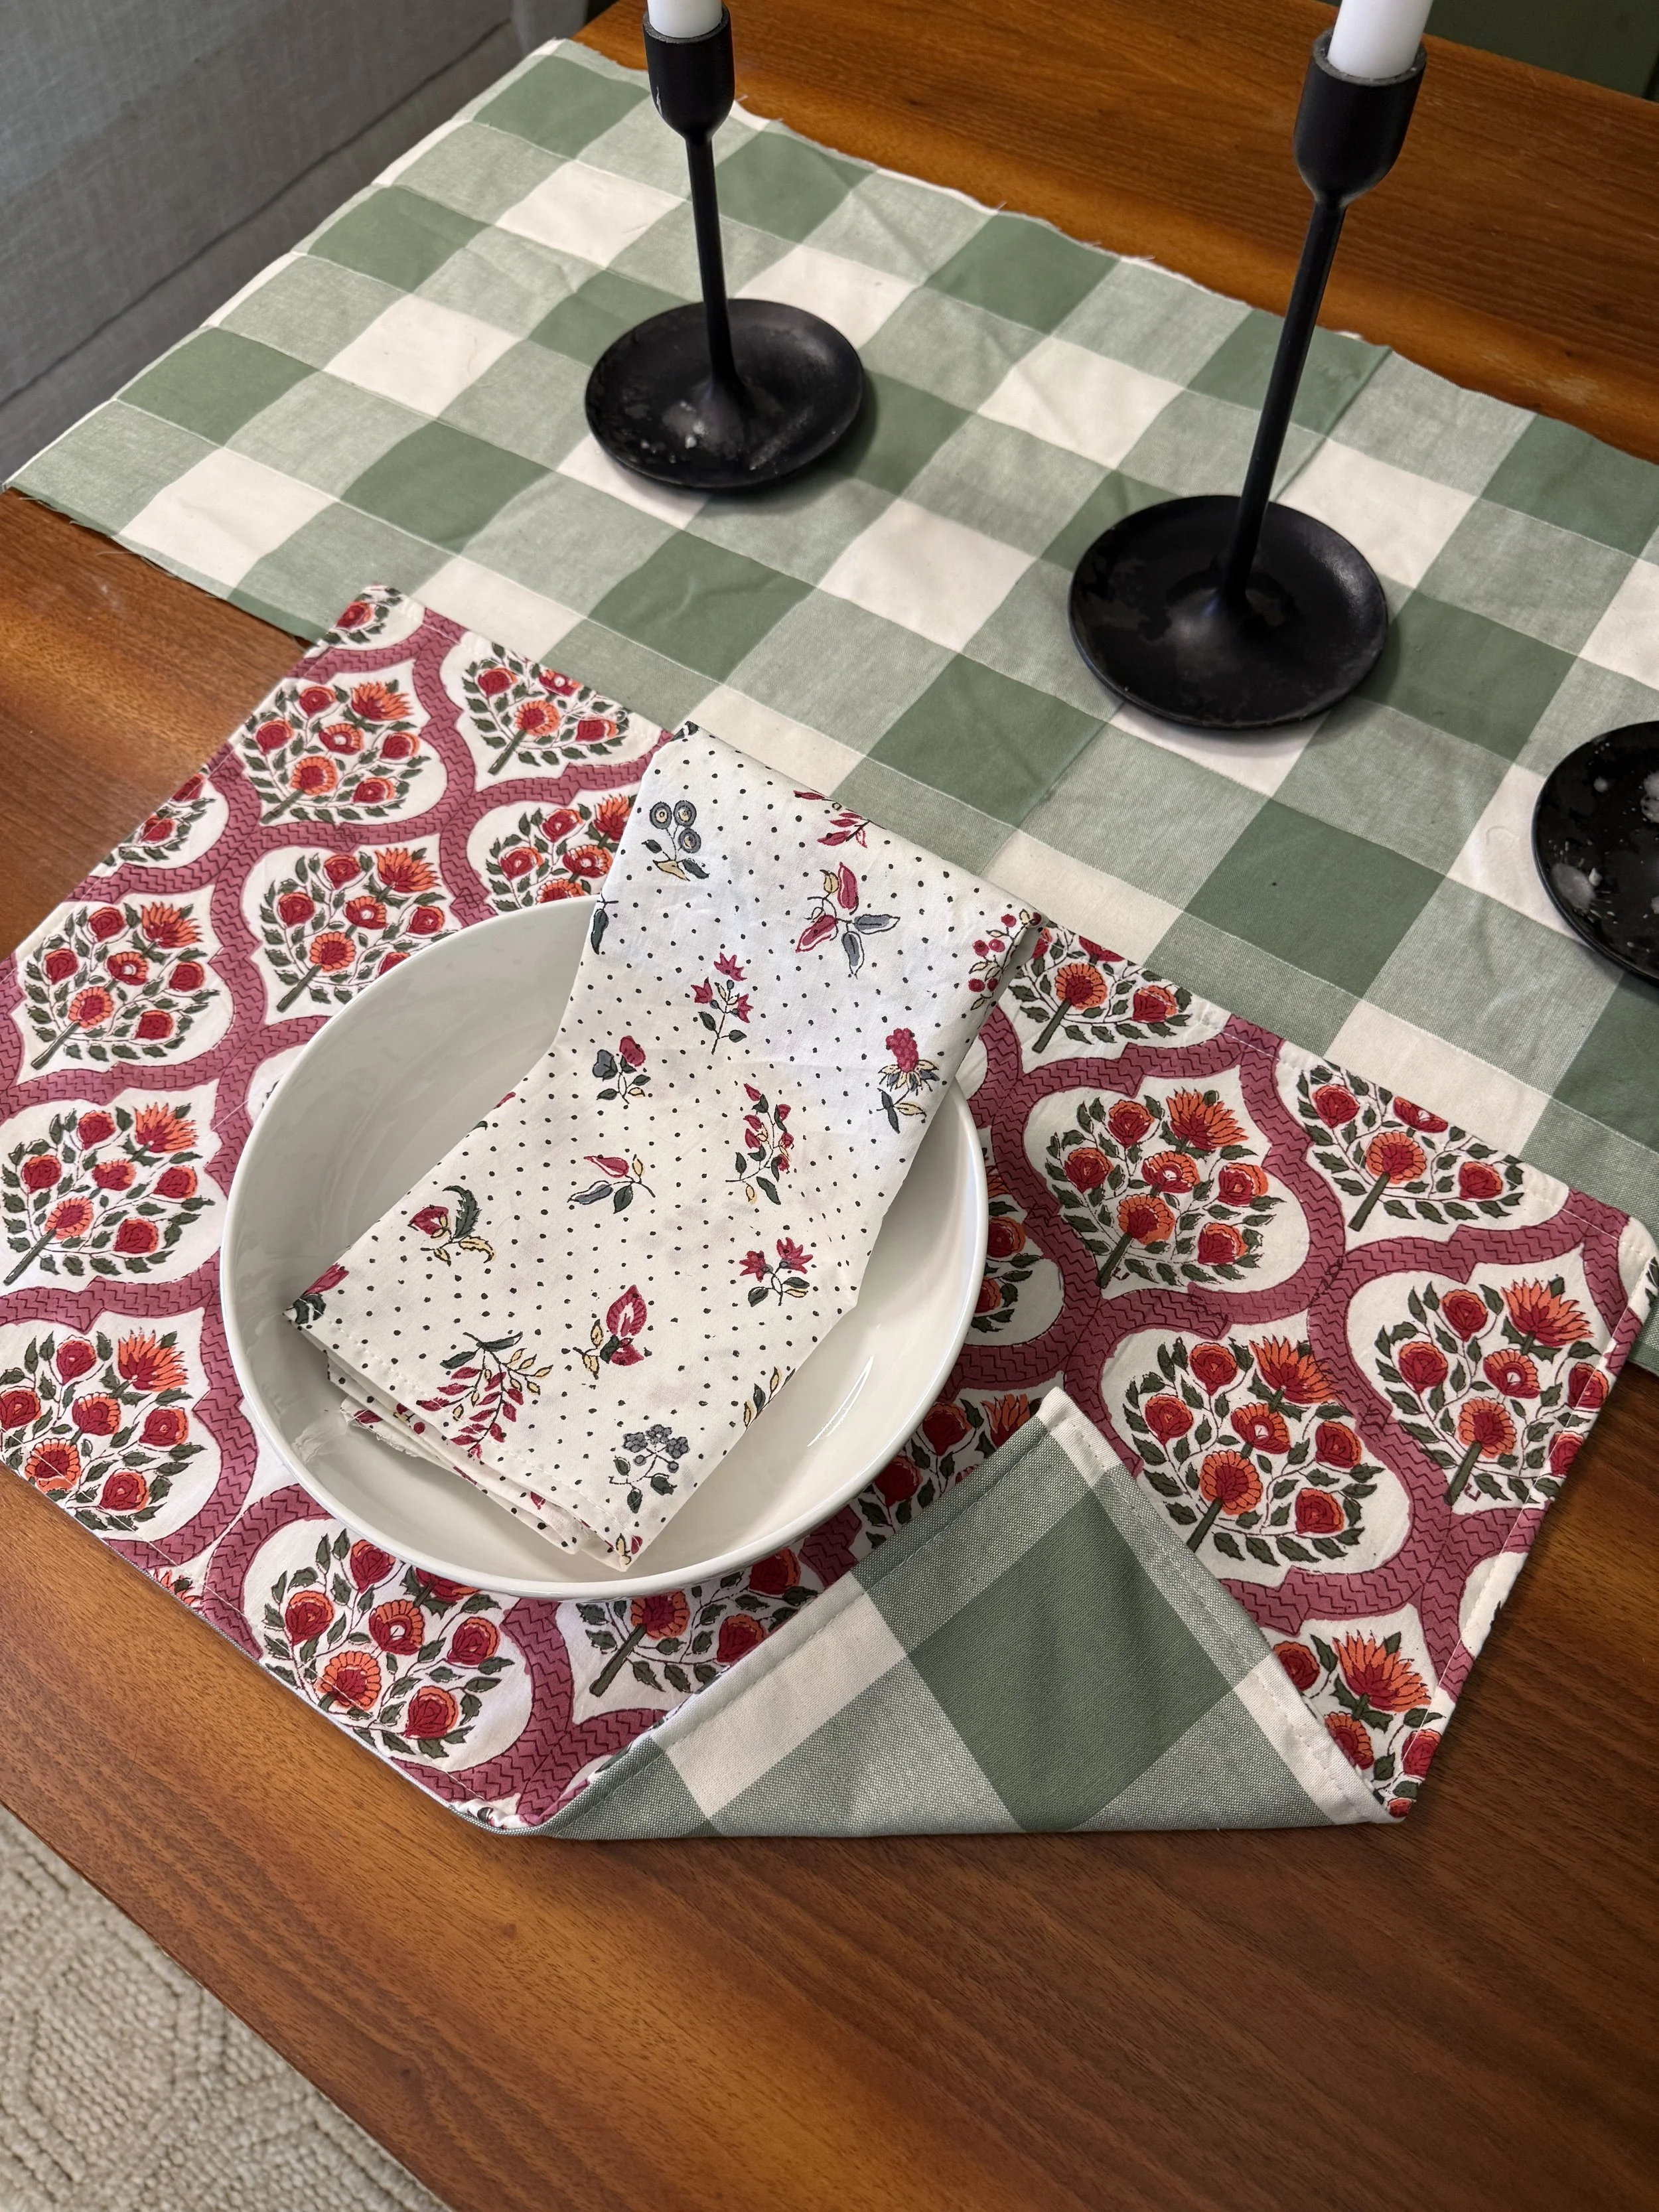
Gather Around the Table: A Simple Handmade Table Setting
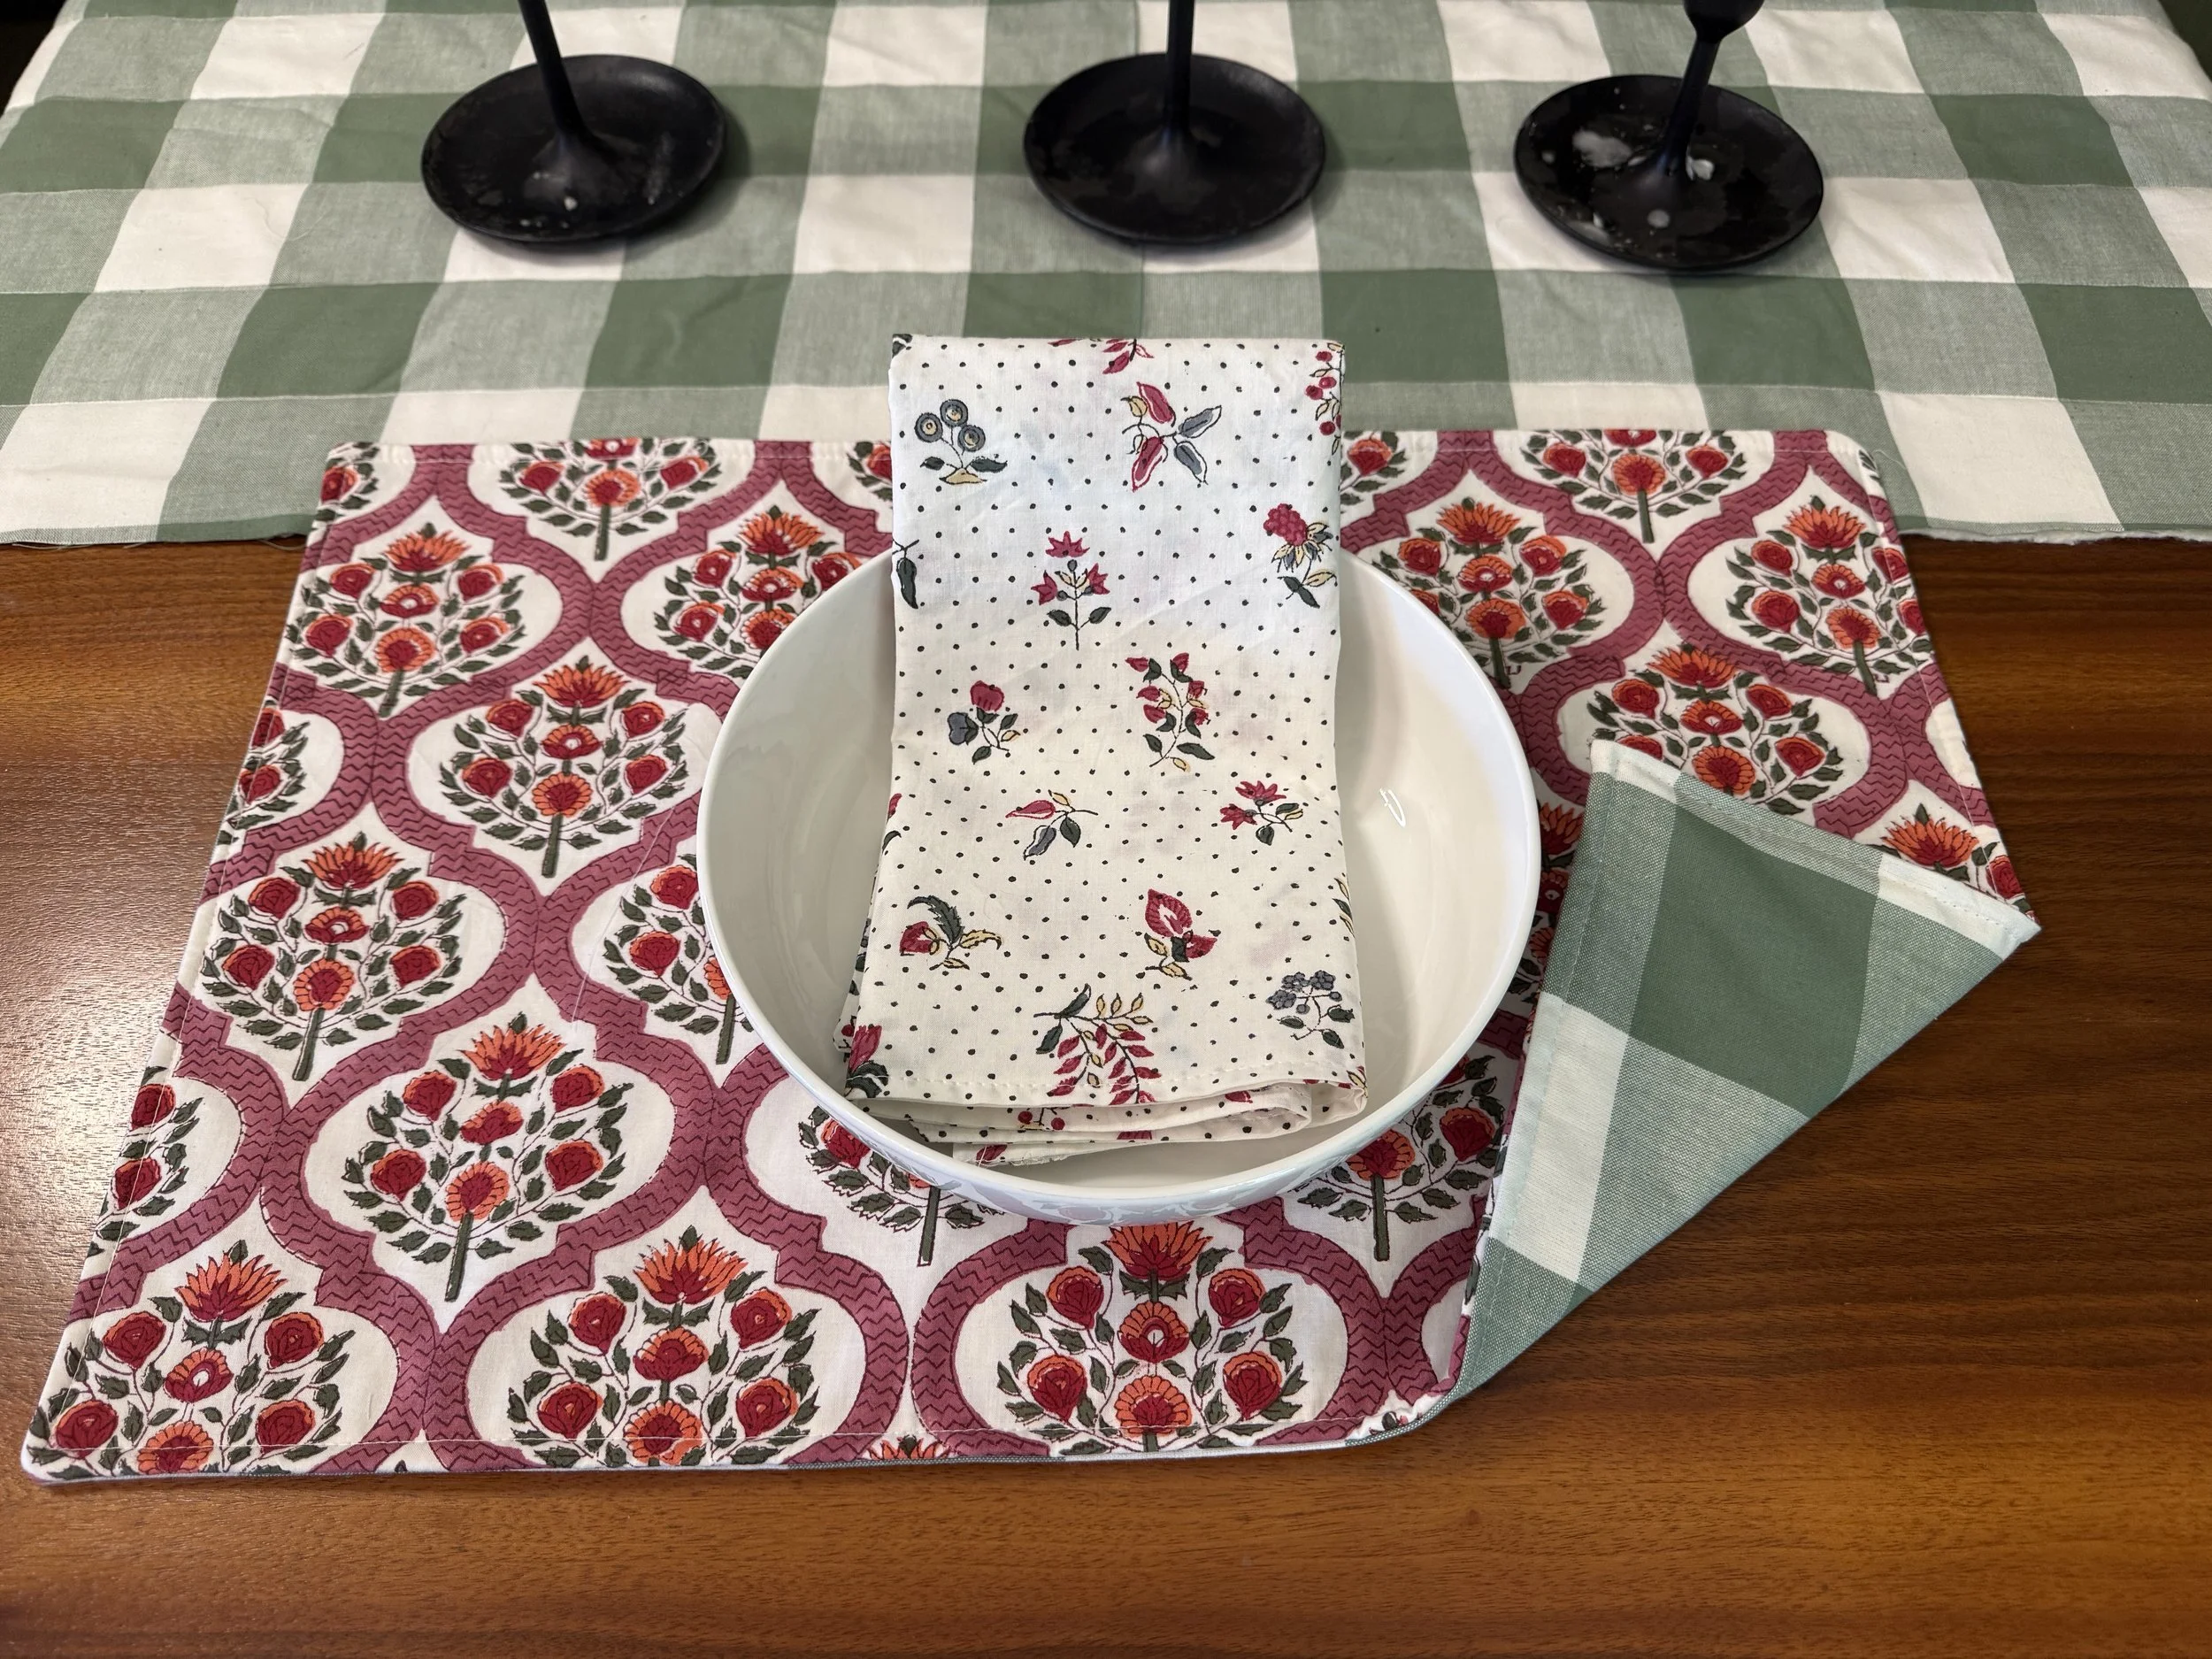
Gathering around a table feels special. A simple, thoughtful table shows care and turns a meal into a memory, sparking conversation and connection. Whether a weeknight dinner, holiday meal, or coffee with a friend, the table brings people together.
A beautiful table doesn’t need to be fancy. Use what you have: garden flowers, good food, and a few handmade touches. The Gather Around the Table Collection has three easy sewing projects, a table runner, cloth napkins, and quilted placemats. Beginner-friendly and easy to customize for your home or the season, they make a lovely set for your own table or a housewarming, wedding, holiday, or hostess gift.
Gather Around the Table Collection
This tutorial makes:
14 inch by 48 inch table runner
18 in square cloth napkins
12 inch by 18 inch quilted placemats
All three projects use simple straight-line sewing, making this a great project for beginning sewists.
Materials
For the complete collection, you will need:
Quilting cotton, linen, or a linen/cotton blend
Coordinating or contrasting fabric for the placemat and table runner backing
Cotton batting for the table runner and placemats
Coordinating thread
Rotary cutter and cutting mat
Acrylic ruler
Sewing machine
Iron and ironing surface
Pins or sewing clips
Scissors
Fabric requirements will vary depending on whether you use the same fabric throughout the collection or mix several coordinating prints and solids.
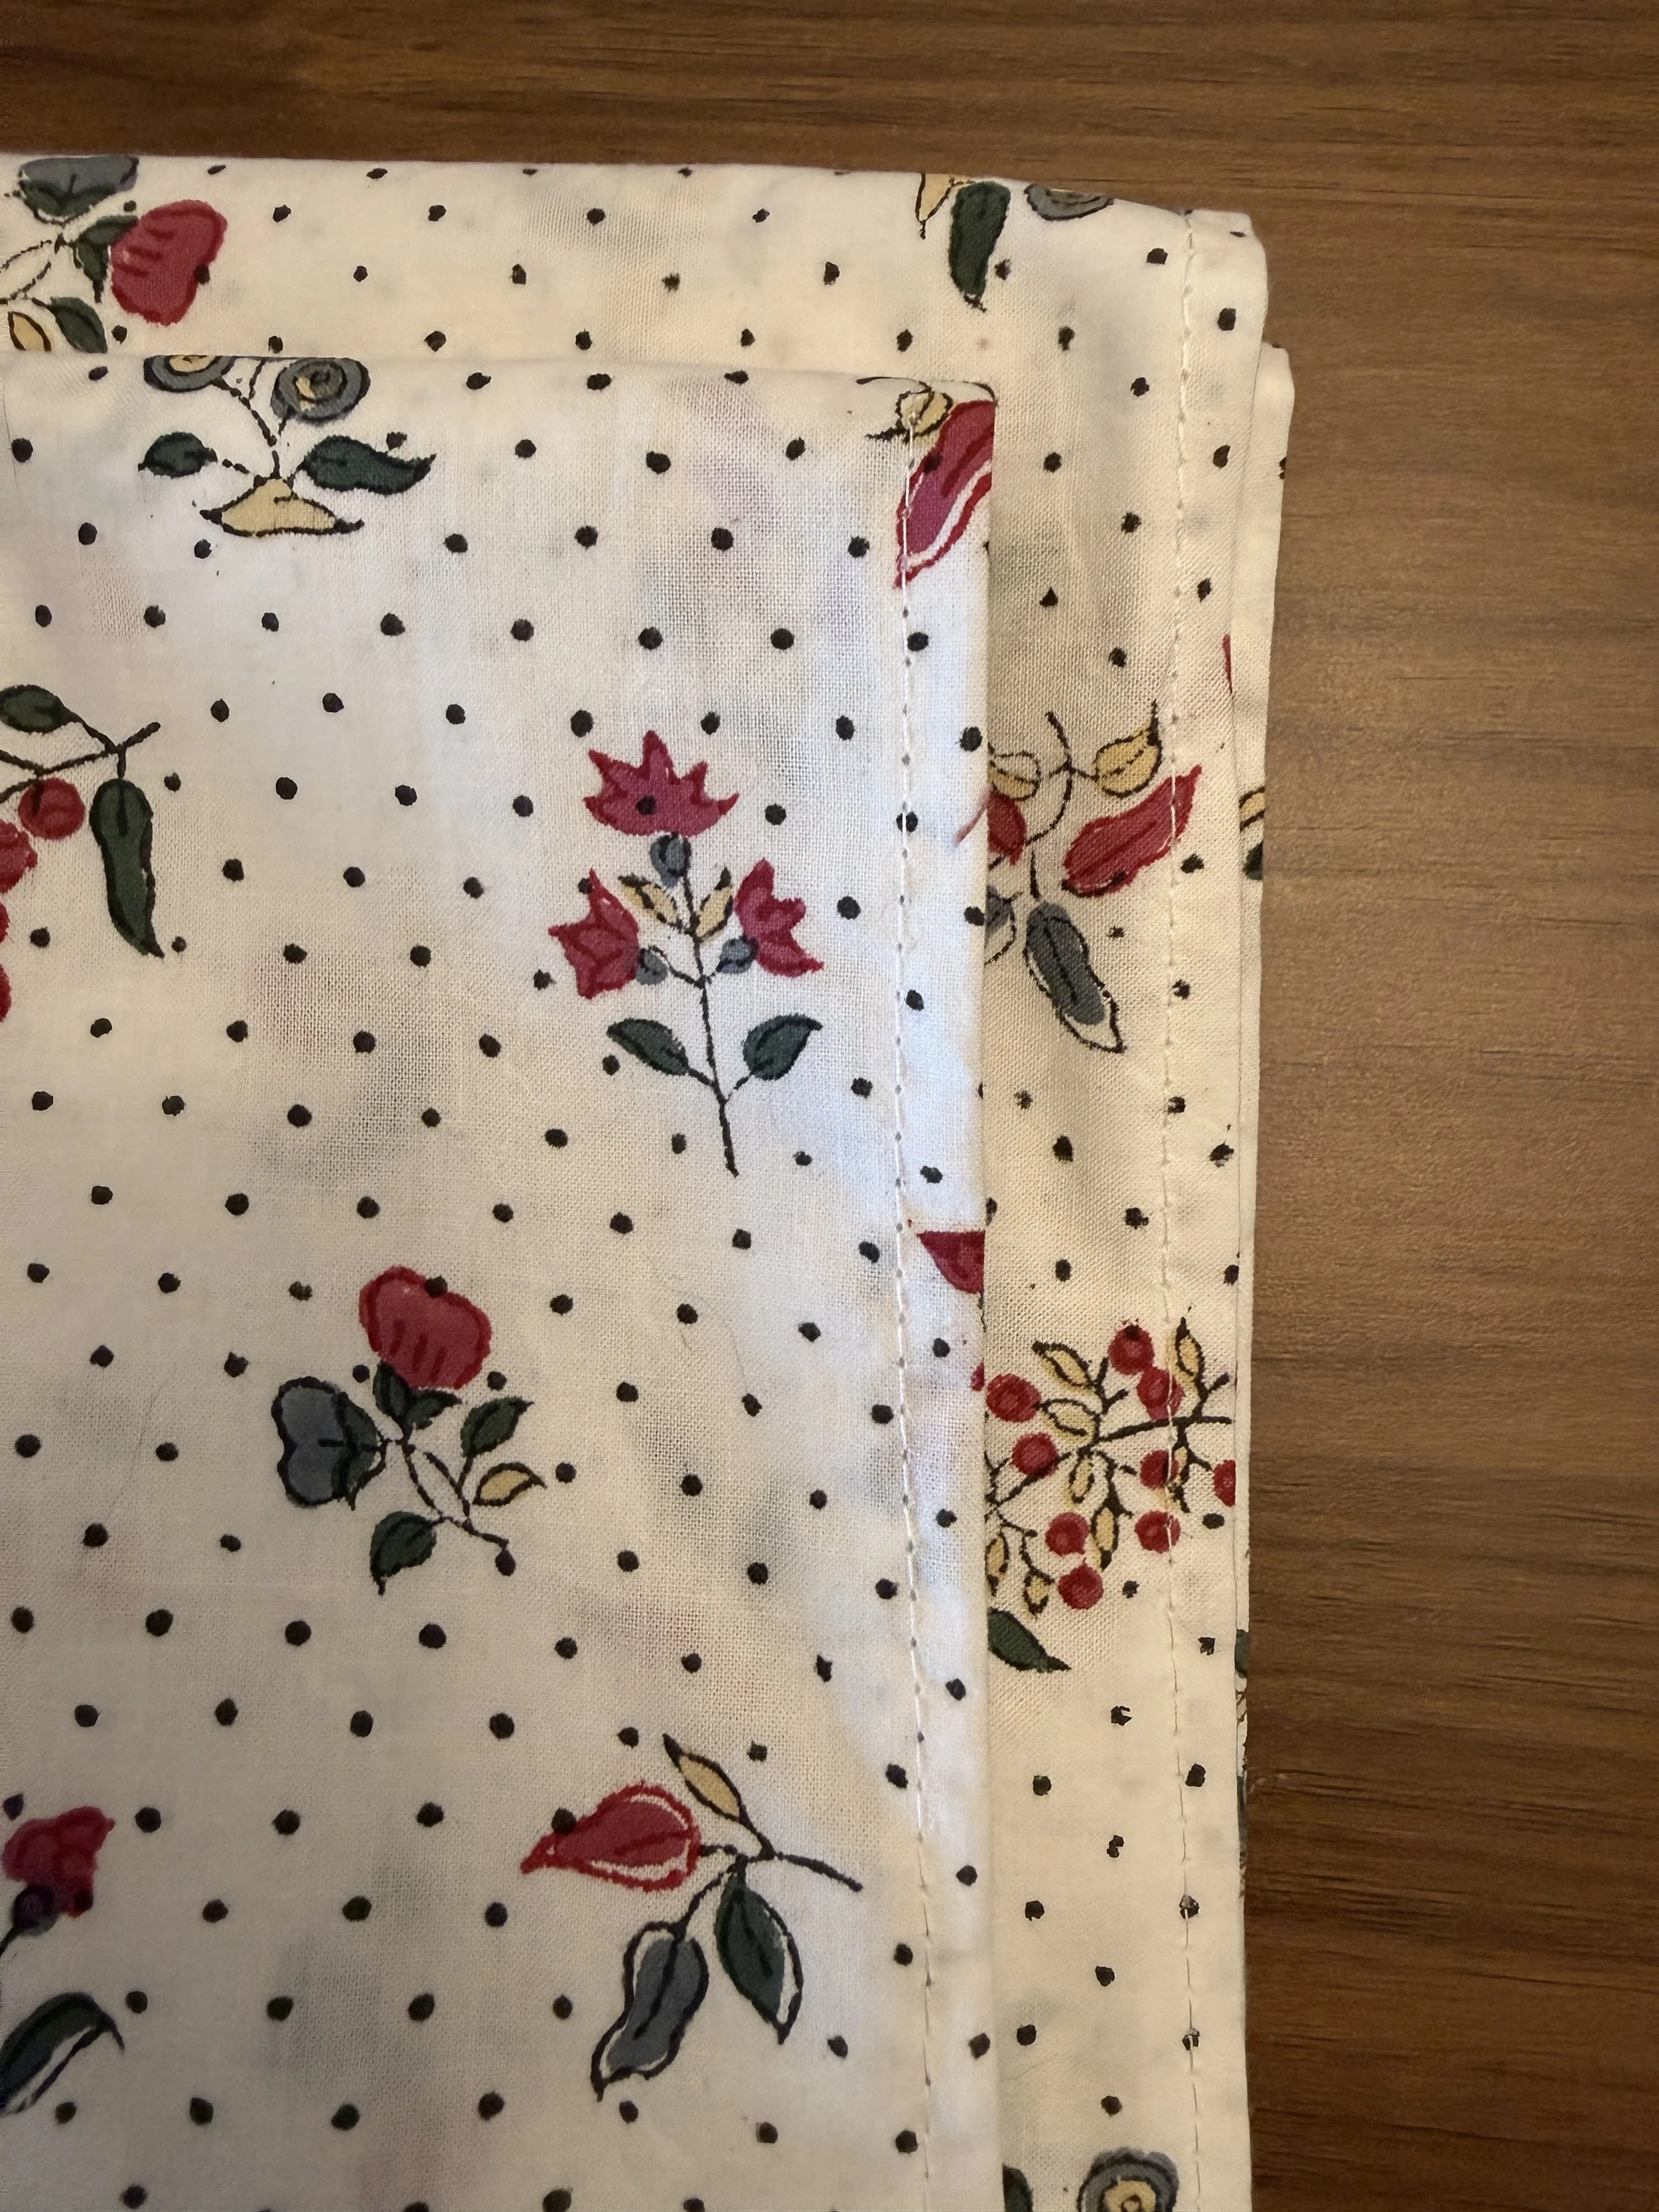
Project 1: Simple Cloth Napkins
Cloth napkins may be one of the easiest ways to add a handmade touch to your table. They are quick to sew, washable, reusable, and make wonderful gifts.
For each napkin, cut two 20 in squares of fabric. They can be the same fabric or two different coordinating fabrics for a reversible look.
Place the two fabric squares right sides together. Stitch a ¼ inch seam allowance around all four edges of the napkin, but leave a 4-5 inch opening on one side to allow for turning.
Clip off the corners so that a crisp corner can be made once turned and then flip the entire napkin right sides out. Use a turning tool to press out the seams and corners.
Then topstitch around the entire napkin approximately 1/8 inch from the inside folded edge, pivoting at each corner.
Give the finished napkin a final press. Repeat for the remaining napkins. The finished size of each napkin is approximately 18 inches square.
Project 2: Simple Quilted Placemats
These placemats are made using a simple quilt-and-turn method, so there is no binding required. They are a great introduction to working with batting and basic quilting.
For each placemat, cut:
One 13 inch by 19 inch rectangle for the placemat front
One 13inch by 19 inch rectangle for the backing
One 13 inch by 19 inch rectangle of cotton batting
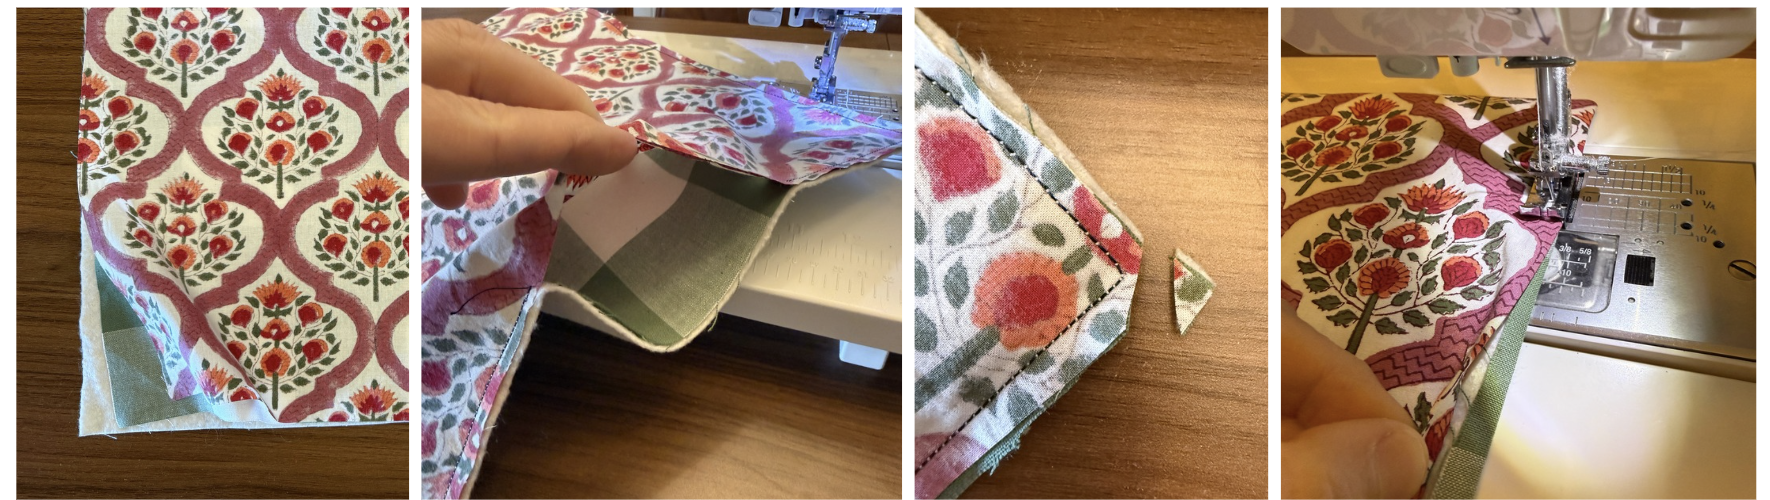
Layer the cut pieces with the batting on the bottom, the placemat front on top of the batting with the right side of the fabric facing up, followed by the placemat backing on the very top with the right side facing down. The front and back fabrics should now be right sides together with the batting underneath. Pin or clip around all four sides. Sew around the outside edge, leaving a 4-5 inch opening along one side for turning the placemat right side out.
Clip the four corners of the placemat carefully without cutting through your stitches. This will reduce bulk and help create crisp corners. Turn the placemat right side out through the opening. Gently push out each corner using a turning tool, capped pen, or kitchen utensil so that all the seams are flat and press the placemat. At the unstitched opening, turn the raw edges toward the inside so they align with the sewn edge. Press and pin or clip the opening closed. Topstitch approximately 1/8 inch from the edge around the entire placemat. This will close the opening and give the placemat a finished look.
You can leave the placemat as is or add a few simple lines of quilting to secure the layers together. You can stitch straight lines across the placemat, quilt a simple grid, or echo the outside edge with additional rectangles of stitching. Keep it simple. The goal is a practical, washable table linen that can be enjoyed every day. The finished placemats will be approximately 12 inches by 18 inches.
Project 3: Quilted Table Runner
The table runner uses the same basic construction method as the placemats, making it an easy project to complete once you've made your first placemat. The pattern is written to create a 48 inch table runner, but you can easily customize the runner and make it longer or shorter for your own table simply by cutting your fabric and batting the your desired length.
Cut:
One 15" x 49" rectangle for the runner front
One 15" x 49" rectangle for the backing
One 15" x 49" rectangle of cotton batting
We will layer our pieces the same way we did for the placemats above. Layer the cut piece with the batting on the bottom, the table runner front on top of the batting with the right side of the fabric facing up, followed by the table runner back on the very top with the right side facing down. The front and back fabrics should now be right sides together with the batting underneath. Pin or clip around all four sides. Sew around the outside edge, leaving a 5-6 inch opening along one side for turning the table runner right side out.
Clip the four corners of the table runner carefully without cutting through your stitches. Turn the piece right side out through the opening. Gently push out each corner using a turning tool and press flat. At the unstitched opening, turn the raw edges toward the inside so they align with the sewn edge. Press and pin or clip the opening closed. Topstitch approximately 1/8 inch from the edge around the entire table runner. This will close the opening and give the placemat a finished look.
Finish your runner with simple straight-line quilting lines running the length of the runner.
If you're making the runner and placemats as a set, use the same quilting design on both to create a coordinated look.
Creating a Coordinated Collection
One of the things I love about this project is how easily you can change its look simply by changing the fabrics. I like to create reversible pieces that can be mixed and matched to change up the look of the table so that I get two sets in one. Pull from your fabric stash and use what you have on hand. The placemat fronts don't have to match, and the napkins can each be made from a different coordinating prints.
Give the Gift of Gathering
The Gather Around the Table Collection also makes a meaningful handmade gift. Create four placemats and napkins, fold them together with the table runner, and tie the entire bundle with ribbon or twine. Add a handwritten recipe card, a jar of homemade jam, or a loaf of fresh bread for an especially thoughtful housewarming or hostess gift.
I would love to see what you create. Share your handmade table setting on Instagram or Facebook and tag me @The_Lark_Life. I can’t wait to see what you create!
Want to learn more about sewing or quilting?
If you would like to learn how to quilt check out my online courses, Sewing 101, Beginner Quilt Lab, or my full course Foundations in Quilting. When you sign up for the Foundations in Quilting Course, you will receive the Sewing 101 and Beginner Quilt Lab courses as free bonuses. Use code artofhome to receive a 20% discount on the course.